
How to Install a Security Camera System: Step-by-Step (2026)
Table of Contents
Half of all camera installs fail within a year — not from bad cameras, but from cables run wrong, angles set blind, or recorders never configured for remote access. This guide walks a complete security camera installation end to end: planning positions, running PoE cable, mounting, wiring the NVR and testing at night. Budget a half day for a 4-camera home system, a full day for 8 cameras. No special tools beyond a drill and a screwdriver.
Keep reading for more — the step-by-step sequence, the mistakes that waste hours, and a checklist you can print for the installer. If you are shopping for equipment first, our complete network video recorder guide and PoE camera range cover the hardware side.
Key Facts at a Glance
- 6 steps: plan → tools → mount → cable → configure → night test
- PoE cable: one Cat5e/6 run per camera, max 100m (328ft)
- Mount height: 2.5-3m, tilted 15-30° down toward the target
- Typical time: 4-8 hours for 8 cameras (two people)
- Night test: never sign off before walking the site after dark
Step 1: Plan Camera Positions
Walk the site twice: once during the day, once at night. List the points an intruder must pass — doors, gates, driveways, blind corners, stockrooms. Mark each with a phone photo so you can re-check angles later.
1.1 Coverage rules
Position cameras to capture faces, not backs of heads. Aim across entry paths, not straight down at them. Overlap coverage so one camera's blind spot is the next camera's view. For perimeter cameras, mount at 3-4m with a tilt down 15-30° to balance face detail with distance.
1.2 Avoid classic mistakes
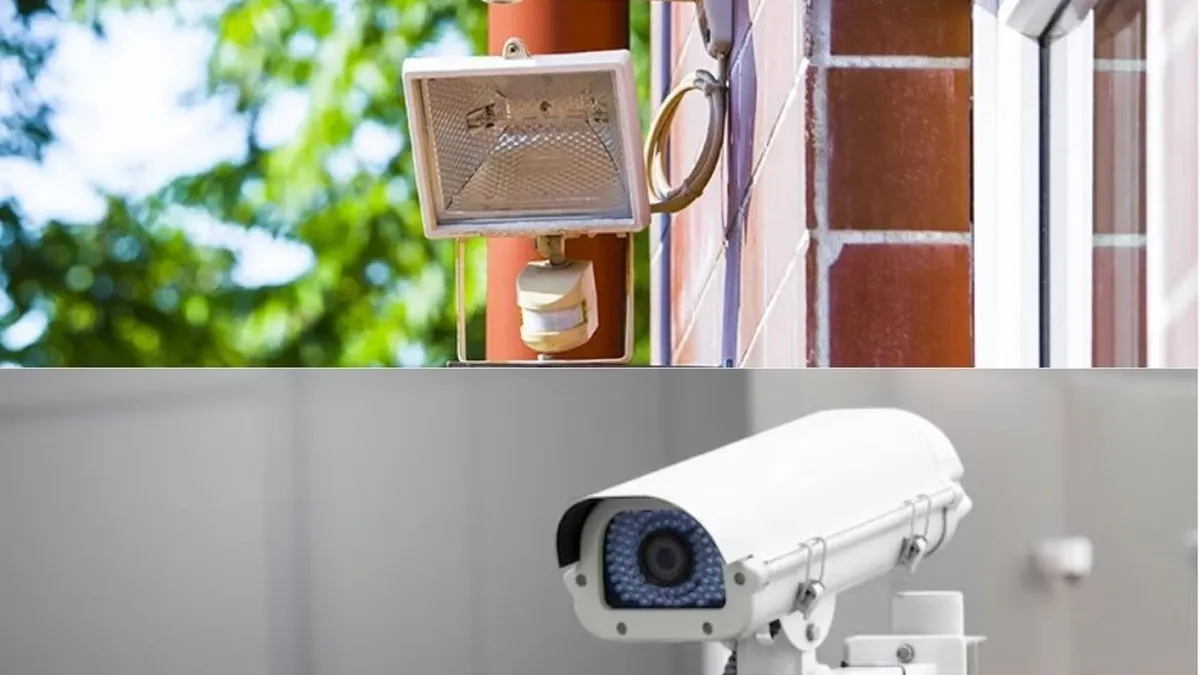
Do not point cameras into the sun (backlight destroys detail). Do not mount under roof overhangs where rain splashes the lens. Keep 1-2m from motion-sensor lights so IR doesn't wash out. If the site has full-color night vision cameras, remember they need some ambient light — a wall light or street lamp keeps them in color mode.
Step 2: Gather Tools and Cables
You need: PoE switch or PoE NVR, Cat5e/Cat6 cable (rated for outdoor/UV), RJ45 connectors and crimp tool, drill with masonry bit, screwdriver set, cable tester, ladder, and a phone or laptop for configuration. Order a few extra meters per run — you always need more than you think.
2.1 PoE vs WiFi for installation
PoE wins on reliability: one cable carries power and data, no wifi password to manage, no dropouts. WiFi is faster to install (no cable runs) but you trade reliability. For a first install, PoE is the safer default — if the cable is already pulled, the camera works.
Step 3: Mount the Cameras
Hold the camera at the planned position, check the view in the app before drilling. Mark the holes, drill, and secure the mount. For brick or concrete use a masonry bit and wall plugs. Make sure the camera can still rotate after mounting — test before fully tightening.
3.1 Bullet vs dome mounting
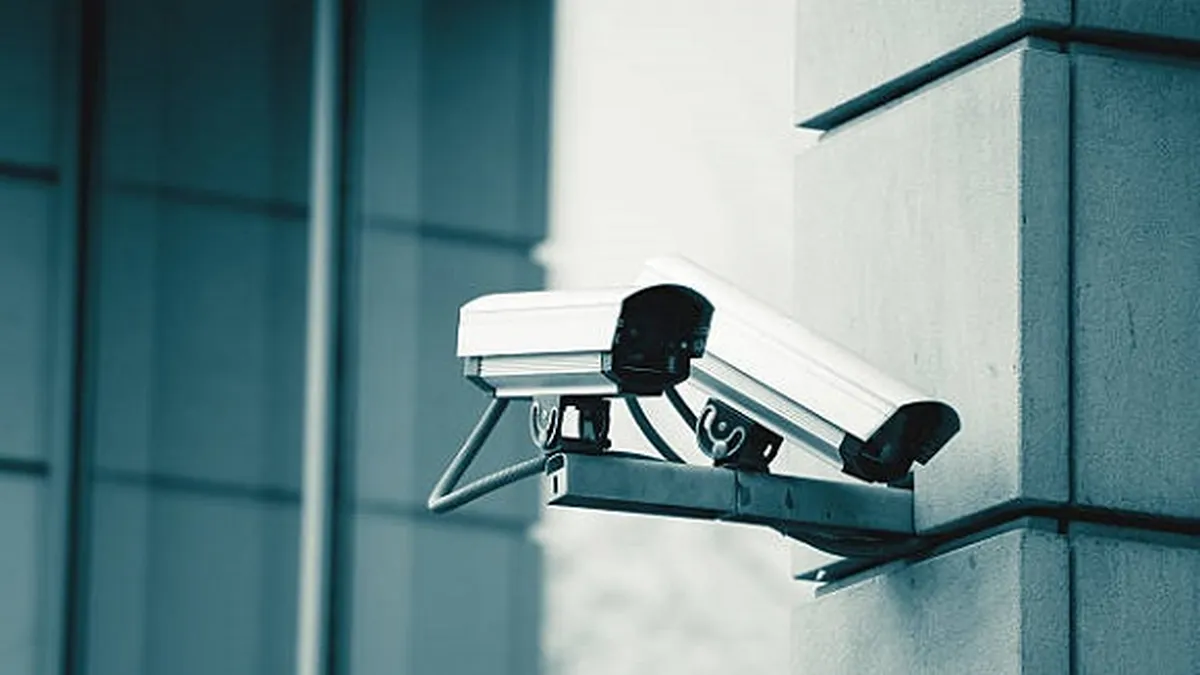
Bullet cameras mount on a wall or eave with a bracket and point along their length — best for perimeters. Dome cameras mount flush on a ceiling and hide their lens direction — best indoors. Both need a drip loop on the cable so water runs off the connector.
Step 4: Run the Cables
Run Cat5e/6 from each camera to the PoE switch or NVR. Keep runs under 100m (328ft) — beyond that, use a PoE extender or switch mid-run. Keep power cables separate from data where possible to avoid interference. Terminate with RJ45 and test each run with a cable tester before connecting.
4.1 Drip loops and weatherproofing
Leave a small loop of cable hanging below each connector so water drips off the loop, not into the plug. Use the supplied waterproof boot on outdoor connectors, or wrap with self-amalgamating tape. Seal any wall penetration with silicone.
Step 5: Connect and Configure
Plug each camera into the PoE switch or NVR. Power on the recorder, and the cameras should appear in the channel list automatically (Plug and Play). If not, add them by IP using the vendor app. Set recording mode (continuous or motion), storage retention, and time sync. Enable the free P2P remote access so you can view from your phone away from home.
5.1 NVR setup order
Always: update firmware first, then set a strong admin password (change it from the default), then enable remote access, then set recording schedule. Doing it in this order avoids locking yourself out or exposing the system during setup.
Step 6: Test at Night
Walk the site after dark. Confirm every camera shows usable footage — faces identifiable at the distances you expect, color or IR mode as expected. Check that motion detection triggers in the right zones, not on moving trees or passing cars. Test playback from the phone app on cellular data (not just home WiFi).
Installation Checklist
- Camera views cover all entry points; no blind corners
- Mount height 2.5-4m; tilt 15-30° down
- Cable runs under 100m; drip loops on outdoor connectors
- RJ45 terminated and tested; wall penetrations sealed
- Firmware updated; admin password changed from default
- Recording schedule and motion zones configured
- Remote access works on cellular data
- Night walk-through passed — faces identifiable
Quick Answers
How long does it take to install security cameras?
Typical 4-camera home system: 3-5 hours for two people. 8-camera commercial: a full day. WiFi cameras cut cable time but add configuration time.
Can I install cameras without an electrician?
Yes, if you use PoE (one low-voltage cable, no mains work at the camera). Only the switch/NVR needs a standard power outlet.
Do security cameras need internet?
Recording works offline (NVR/local storage). Internet is only needed for remote viewing and app alerts. Local recording keeps working if the connection drops.
Where should I NOT put cameras?
Bathrooms, changing rooms and private bedrooms — and check local law on audio recording. Point cameras at entry points and public areas, not at neighbors' windows.
The Bottom Line: A security camera installation is 20% hardware and 80% planning and cable work. Plan positions from a night walk, run PoE properly with drip loops, configure in the right order, and always test after dark. Get these right and the system works for years.
NEXT STEP
Ready to Upgrade to Full-Color Night Vision?
Send us your requirements — our team responds within 24 hours with pricing and lead time.
Written by
Ray ChanCCTV Buyer's Guide Author · Full-Color Night Vision Specialist. Ray helps global importers and integrators source factory-direct security cameras.