
7 Common Security Camera Installation Mistakes (2026)
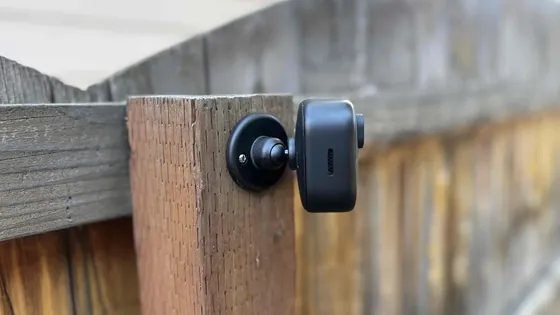
Table of Contents
Most camera failures are installed, not manufactured. A unit mounted too high, pointed into the sunset, or sealed against nothing will fail within its first year. Sensor quality will not save it. This guide covers the seven installation mistakes that show up on real sites. For each one you get the failure mode, the fix, and the rework cost.
Keep reading for more! Each mistake gets the same treatment: what goes wrong, how to avoid it, and what the rework typically costs. The pattern repeats across single-camera home jobs and 32-camera warehouse projects alike.
Key Facts at a Glance
- Mount height: 2.5-3m typical, tilted 15-30° down for face detail
- Backlight: keep sun and bright windows behind the camera, not the subject
- IR clearance: 0.5-1m from walls, railings and signs
- Storage: a 4MP camera writes 21-43 GB per day, codec dependent
- Night test: walk every channel after dark before sign-off
Mistake 1: Mounting the Camera Too High
What goes wrong: Cameras above 4-5m turn people into tops of heads. Faces become unreadable beyond 8m even at 4MP, so identification fails exactly when the footage matters. This is the most common mistake on eaves, gables and tall poles.
How to avoid: During any ip camera installation, mount at 2.5-3m typical for face capture and tilt the lens down 15-30°. For long sight lines, use a varifocal lens and zoom for the zone that matters. Secure the camera mounting bracket to the wall structure, not just the eave lip. Use an adjustable bracket so the angle can be tuned after mounting. Typical rework for a bad height: 1-2 labor hours plus a new bracket.
Mistake 2: Pointing the Camera Into Backlight
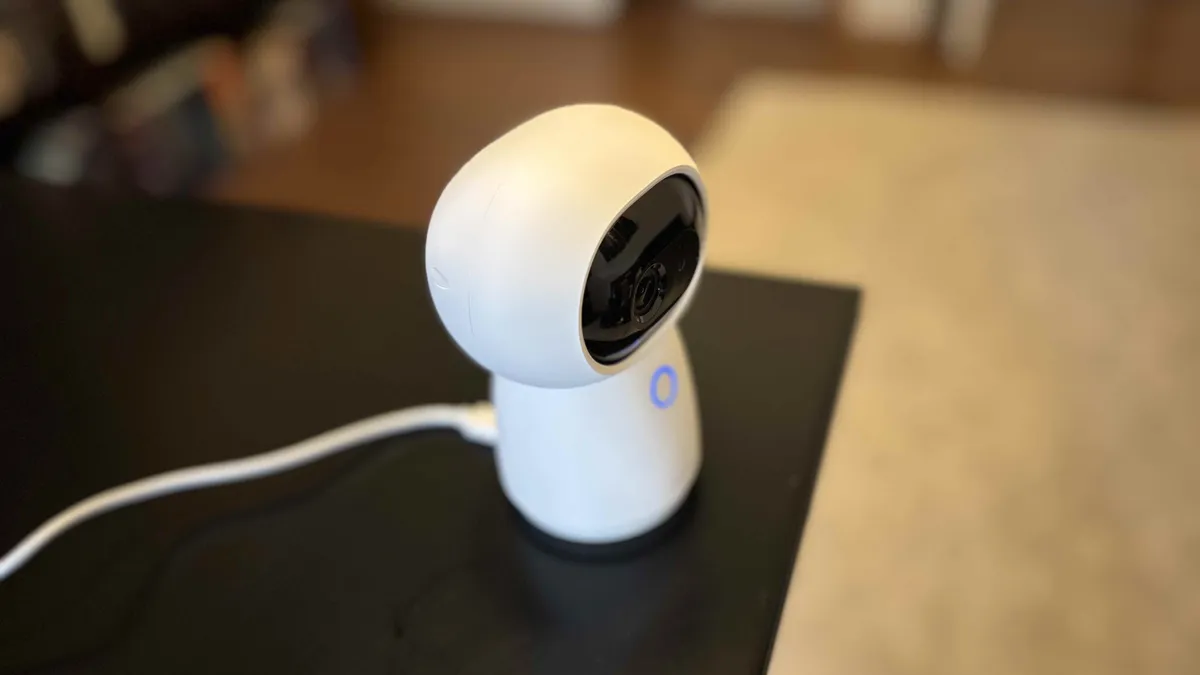
What goes wrong: A camera aimed at the sun, a bright window, or a lit doorway records silhouettes. Faces and license plates vanish into shadow. Daytime installs hide the problem until the light shifts in the late afternoon.
How to avoid: Keep the light source behind the camera. For unavoidable cases, enable wide dynamic range and test at the worst light hour of the day. WDR typically lifts a backlit scene by 10-20 dB, but it cannot recover a subject that is fully black. At entrances, mount to the side of the door rather than straight across from it. If the sun path changes across the year, re-check the angle each season. Typical rework: 1-2 labor hours to reposition a single camera.
Mistake 3: IR Washout From Reflective Surfaces
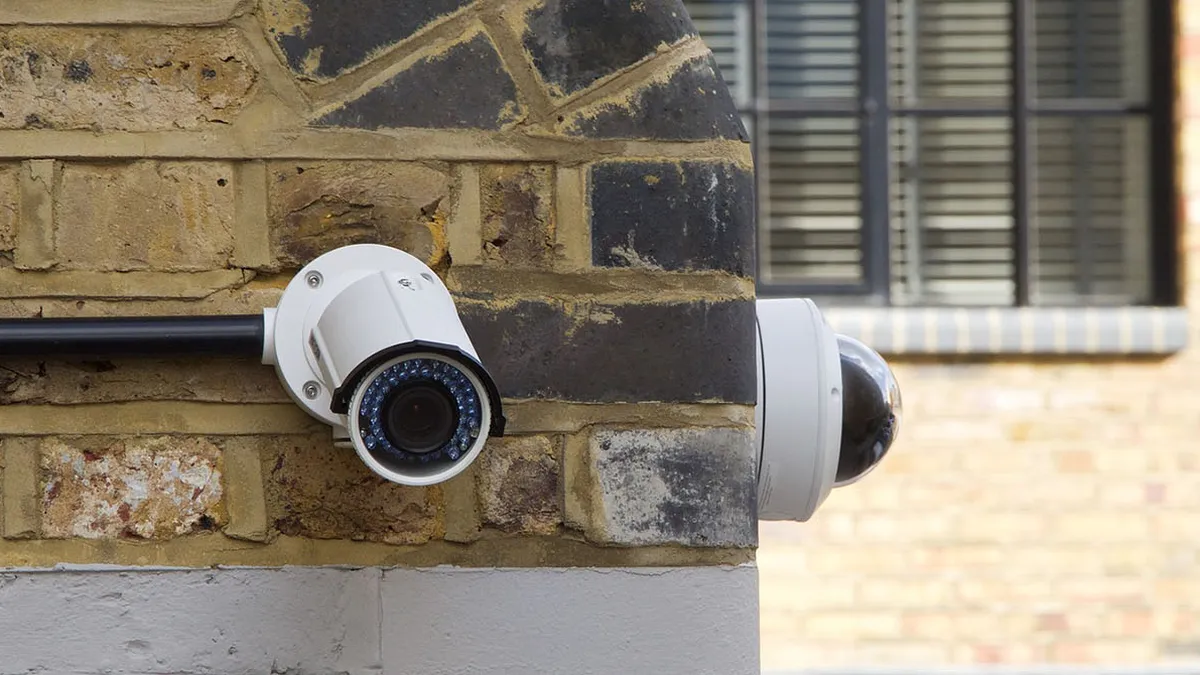
What goes wrong: Infrared light bounces off walls, railings, signs or snow and floods the sensor. The frame goes white or hazy at night, and faces wash out completely. Search traffic for "orbs on night vision camera" is usually this exact problem, or a spider web strung across the lens.
How to avoid: Keep 0.5-1m clearance between the lens and any flat surface. Aim along railings instead of across them. Clear webs weekly during the active season. Typical IR range is 30-50m for bullet units, so bounce surfaces inside that cone matter most. A "night vision camera for home" mounted flush on a white wall shows the same washout within days. Typical fix: one labor hour, sometimes a bracket swap.
Mistake 4: Under-Sized Storage
What goes wrong: The recorder overwrites old footage every few days. An incident on day six is gone by day nine. Retention promises on quotes rarely survive contact with reality, because nobody ran the storage math.
How to avoid: Calculate per camera. A 4MP unit on H.264 writes about 43 GB per day at typical bitrates; the same camera on H.265+ drops to roughly 21 GB. A "local storage security camera" writing to microSD needs a 128-256GB card to hold a week. "Security camera storage" planning is simple arithmetic: channels × daily rate × retention days. For an 8-camera site at 4MP on H.265+, a 4TB drive holds about 24 days of continuous recording. For any "security camera with local storage", match the card or drive to the retention promise, not the box label. The same check applies to kits sold with "security cameras with local storage". Typical fix: a larger drive plus a rebuild pass, 1-3 hours.
Mistake 5: Forgetting Network Bandwidth
What goes wrong: Eight cameras on a home router or a cheap unmanaged switch drop frames when the IR LEDs switch on at night. WiFi cameras fight for airtime, and recordings stutter or stop. The system looks fine on day one and falls over in week two.
How to avoid: Budget 4-8 Mbps per 4MP camera at typical settings, plus 20-30% headroom. If a client asks "what is poe camera", the plan needs a wired option checked before you commit. Use a PoE switch sized for the camera count, and a "poe nvr" that matches the channel total. A typical PoE camera draws 5-8W, so a 250W budget switch feeds roughly 24 cameras with margin. For the "wifi vs poe camera" decision, wired wins wherever the cable run stays under 100m. An "ip camera nvr" with a gigabit uplink handles a 16-camera site without saturation. Put camera traffic on a separate VLAN so recordings never compete with office data. Typical fix: a bigger switch or extra cable run, 2-4 labor hours.
Mistake 6: Poor Weather Sealing
What goes wrong: Water finds the connector. One season of rain corrodes pins, shorts PoE, or fills a dome with condensation. Indoor-rated units die outdoors within months, and the warranty claim lands on the installer, not the camera.
How to avoid: Use outdoor-rated units (IP66 typical) and seal every joint. Leave a drip loop below each connector so water runs off the cable, not into the plug. Fit the supplied waterproof boot, or wrap outdoor RJ45 with self-amalgamating tape. Seal every wall penetration with silicone. A "wireless camera installation" needs the same discipline on the power adapter and antenna joints. "Wireless security camera installation" fails the same way when a battery door or USB port sits exposed to rain. For any "cctv system installation", put sealing on the checklist before the ladder moves. Typical fix: connector or camera replacement, parts plus 1-2 hours.
Mistake 7: Skipping the Night Test
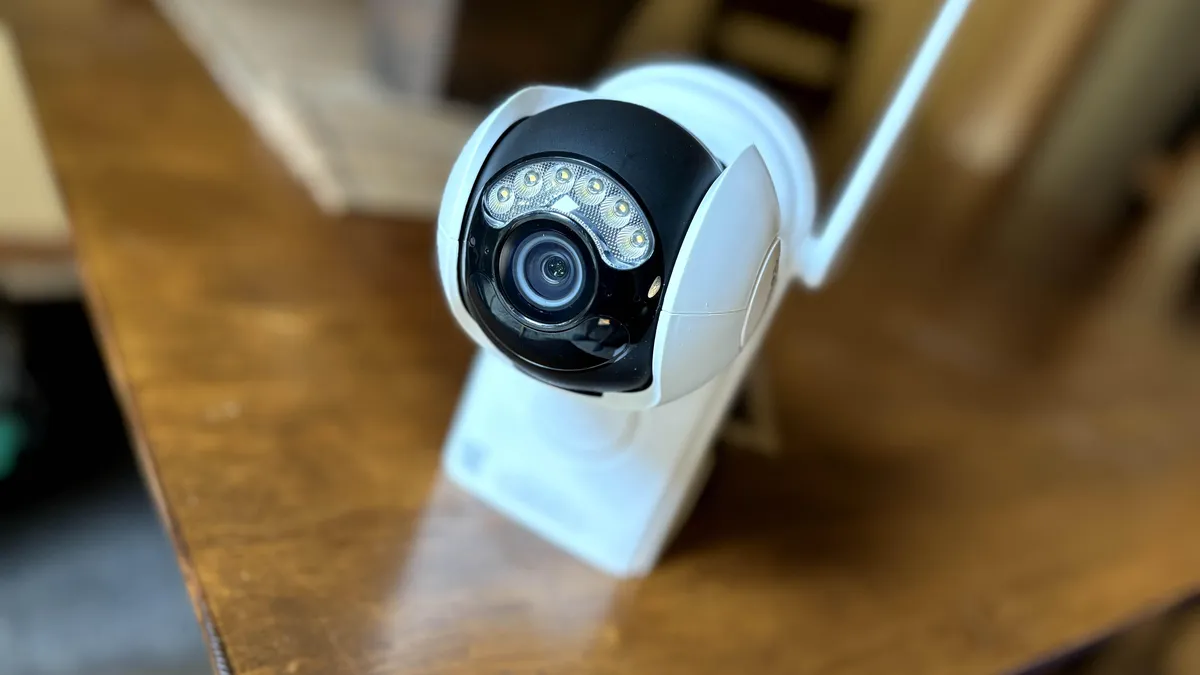
What goes wrong: Day installs look perfect. At night, IR glare blinds half the cameras, motion zones fire on trees, and one channel records nothing but black. The client discovers it a week later, after the incident that mattered.
How to avoid: Walk the site after dark before you leave. Check every channel on the recorder, not just a phone preview. Verify faces are readable at the distances the client cares about. Confirm motion zones ignore moving branches and passing cars. A night walk is the cheapest "cctv blind spot solutions" strategy on the job. Log the test in the handover sheet with photos. Typical cost of skipping it: a full rework pass, 4-8 labor hours across the site.
What Each Mistake Costs
Rework labor is the hidden line item on every install. The table below shows the typical cost to fix each mistake after sign-off, based on standard installer rates.
| Mistake | Typical rework | Typical cost to fix |
|---|---|---|
| Camera mounted too high | Relocate 1 camera | 1-2 labor hours plus bracket |
| Backlit position | Reposition 1 camera | 1-2 labor hours |
| IR washout | Add clearance or relocate | 1 labor hour, maybe a bracket |
| Under-sized storage | Upgrade the drive | Drive cost plus 1-3 hours |
| Bandwidth shortfall | Replace switch or add cable | Switch plus 2-4 hours |
| Failed sealing | Replace connector or camera | Parts plus 1-2 hours |
| No night test | Full rework pass | 4-8 hours across the site |
Installer Acceptance Checklist
For installers and integrators, this list is the acceptance sheet. Run it on every job, and hand the signed copy to the client with the night-test photos.
- Mount height 2.5-3m and tilt 15-30° verified on every camera
- No camera faces the sun, a bright window, or a lit doorway
- IR clearance 0.5-1m from flat surfaces; night image has no washout
- Storage math done: channels × daily rate × retention days fits the drive
- Bandwidth budget sits below switch capacity with headroom
- Drip loop, waterproof boot and silicone seal on every outdoor joint
- Night test walked after dark; every channel verified on the recorder
- Serial numbers, IP addresses and firmware versions recorded
- Admin password changed; firmware update policy scheduled
- Handover sheet signed with photos and test log
For wholesale and multi-site work, keep one checklist per site in the project file. It turns the seven mistakes into a repeatable process, and it gives the client a defensible record if a claim ever comes back.
Print this list and take it on the ladder. Check each line in the order shown, because a camera fixed for height usually needs its angle re-tuned. Re-tuning can change the IR clearance on the same mount.
Quick Answers
What is the best height to install a security camera?
2.5-3m typical, tilted down 15-30°. Higher mounts work for overview coverage, but identification footage needs the closer range. If the site demands height, pair a high overview camera with a lower identification camera.
Why is my camera white at night?
Usually IR reflection off a nearby wall, railing or sign, or a spider web across the lens. Check 0.5-1m clearance, clean the glass, and look for webs in the frame. If the image stays white, the IR LEDs may be firing into a surface you cannot see from ground level.
How much storage do I need for a week of footage?
Run the math: 4 cameras × 21 GB per day (4MP, H.265+, typical) = 84 GB per day, or about 588 GB for 7 days. A 1TB drive covers it with room to spare. For "security camera local storage" on microSD, a 4MP unit typically needs a 128-256GB card for a week. "Local storage security cameras" with motion-only recording can stretch the same card to two weeks.
The Bottom Line
Seven mistakes, one pattern: most failures are decided before power-on. Height, light direction, IR clearance, storage math, bandwidth, sealing and the night test cover the ground where cameras actually die. Fix these at install time and the system runs for years. For buyers, ask the installer which of the seven they verified, and ask to see the night footage before you sign.
NEXT STEP
Ready to Upgrade to Full-Color Night Vision?
Send us your requirements — our team responds within 24 hours with pricing and lead time.
Written by
Ray ChanCCTV Buyer's Guide Author · Full-Color Night Vision Specialist. Ray helps global importers and integrators source factory-direct security cameras.