
IP Camera Setup: How to Set Up an IP Camera in 6 Steps (2026)
Table of Contents
Most IP camera callbacks are setup mistakes, not hardware faults. Typical integrators report the same three causes again and again. Default passwords stay active. Cameras end up on the wrong subnet. Remote access goes untested before sign-off. This guide walks the complete IP camera setup sequence used by professional integrators, from the first cable to the night-time verification. Budget 15-30 minutes per camera for a trained installer.
This walkthrough covers wiring, initialization, network configuration, platform add, remote viewing, and verification. The same "setup ip camera" sequence works for a single unit or a 40-camera warehouse site. If you are still choosing hardware, our IP camera guide and NVR guide cover the buying side.
Keep reading for more!
Key Facts at a Glance
- 6 steps: wire, initialize, configure network, add to platform, enable remote, verify
- Typical time: 15-30 minutes per camera for a trained integrator
- Typical power: PoE 802.3af at 15.4W per port; fixed cameras draw 5-12W
- Typical cable: Cat5e or Cat6, max 100m (328ft) per run
- Default password: change it at first login, before anything else
Before You Start: Tools, Network, Power
Gather everything before you power on the first camera. A prepared integrator sets up a camera in minutes. An unprepared one spends an hour hunting for a crimp tool. Check three areas: tools, network, and power.
0.1 Tools
A laptop or phone with the vendor app or a browser is the core tool. Add a drill, screwdriver set, RJ45 crimp tool with cable tester, and a ladder. Keep spare Ethernet patch cables in the kit. Every missing tool costs a trip back to the van.
0.2 Network
Plan the subnet before installation day. Typical practice is one reserved IP per camera MAC in the router. Keep cameras and the recorder on the same subnet or VLAN. Confirm the recorder supports ONVIF so future cameras join without drama.
0.3 Power
PoE is the cleanest route: one cable carries power and data. A typical fixed IP camera draws 5-12W, well inside the 15.4W per port of 802.3af. A typical 8-port PoE switch with a 120W budget drives eight cameras. Put the recorder on a UPS so power dips never stop recording.
| What you need | Typical spec | Setup role |
|---|---|---|
| PoE switch or injector | 802.3af, 15.4W per port | Power and data in one cable |
| Cat5e or Cat6 cable | 100m (328ft) max run | Links camera to the LAN |
| Router with DHCP | One reserved IP per MAC | Keeps camera addresses stable |
| Vendor app or browser | Same LAN as cameras | Discovery and first login |
| NVR or VMS platform | ONVIF-compatible | Recording, playback, alerts |
Step 1: Wire and Mount the Camera
Wire before you mount. Plug the camera into the PoE switch or injector and confirm the link LED. Typical boot time is 30-60 seconds. If the camera does not appear, fix the cable before you climb a ladder.
1.1 Cable rules
Run Cat5e or Cat6, and keep each run under 100m (328ft). Beyond that, add a PoE switch mid-run. Leave a drip loop below outdoor connectors. Fit the waterproof boot, or wrap with self-amalgamating tape.
1.2 Mounting
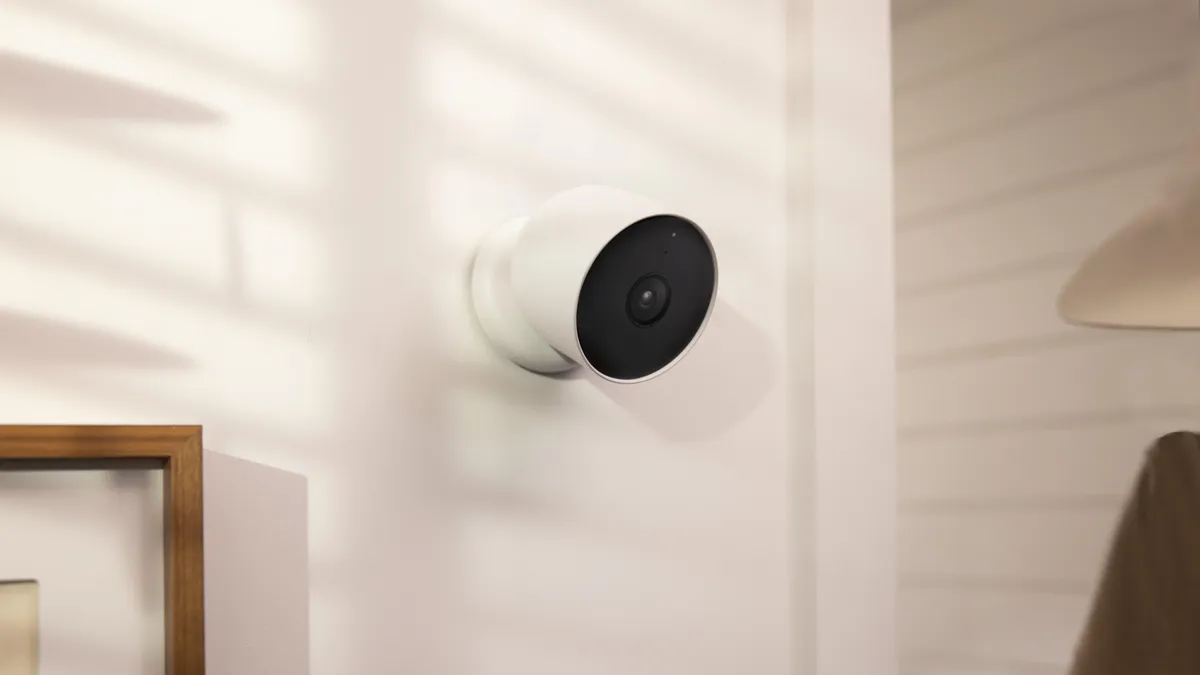
Mount at 2.5-3m, tilted 15-30° down toward the entry path. Test the view in the app before you tighten everything. Seal wall penetrations with silicone. This wiring step is where most later faults are born.
Step 2: Power On and Initialize
Power on the camera and let it boot. Open the vendor app on the same network and use auto-discovery to find the unit. Typical discovery scans the whole LAN in seconds. Most "how to set up ip camera" searches stall right here: the camera never gets a first login.
2.1 First login
Change the default admin password before anything else. Typical policy: 8+ characters with mixed case, numbers, and symbols. Set the time zone and enable NTP sync. Record the credentials in the site file.
2.2 Firmware first
Update firmware before you configure features. Typical updates take 5-10 minutes. Old firmware is a common cause of remote access failures later.
Step 3: Connect to the Network
The camera must sit on the same subnet as the recorder and your viewing app. Most ip camera setup mistakes live in this step. Check the subnet mask and gateway on both devices. A ping test confirms the path in seconds.
3.1 Static IP or DHCP
Typical integrator practice is a DHCP reservation per camera MAC. The address never changes, and you avoid manual IP errors. Reserve a block, such as 192.168.1.100-199, for cameras. Label each camera with its reserved address.
3.2 WiFi models
For WiFi cameras, connect to the SSID on the 2.4GHz band first. Use WPA2 or WPA3 encryption. The 5GHz band offers more speed but shorter range, so test it before you commit.
3.3 Security first
New integrators should learn how to configure camera security before touching a live site. Do not open ports on the router for every camera. Use P2P remote access or a VPN instead.
Step 4: Add Cameras to Your Platform
Open the NVR or VMS platform and let it scan the network. Typical platforms auto-detect ONVIF cameras in seconds. Enter the admin credentials you set in Step 2. The same credentials let you set up cctv camera sites with 4 or 40 units.
4.1 Streams and schedules
Set dual streams: a main stream for recording, a sub-stream for remote viewing. Typical 2MP H.265 recording uses 30-60GB per camera per day. Motion-only recording cuts that to 5-10GB. Match retention to the client's policy.
4.2 Time and users
NVR camera system setup follows the same order: add devices, set schedules, then verify. Enable NTP so every camera shares one clock. Create viewer accounts with limited rights for staff. Keep the admin account for the site manager.
Step 5: Enable Remote Viewing
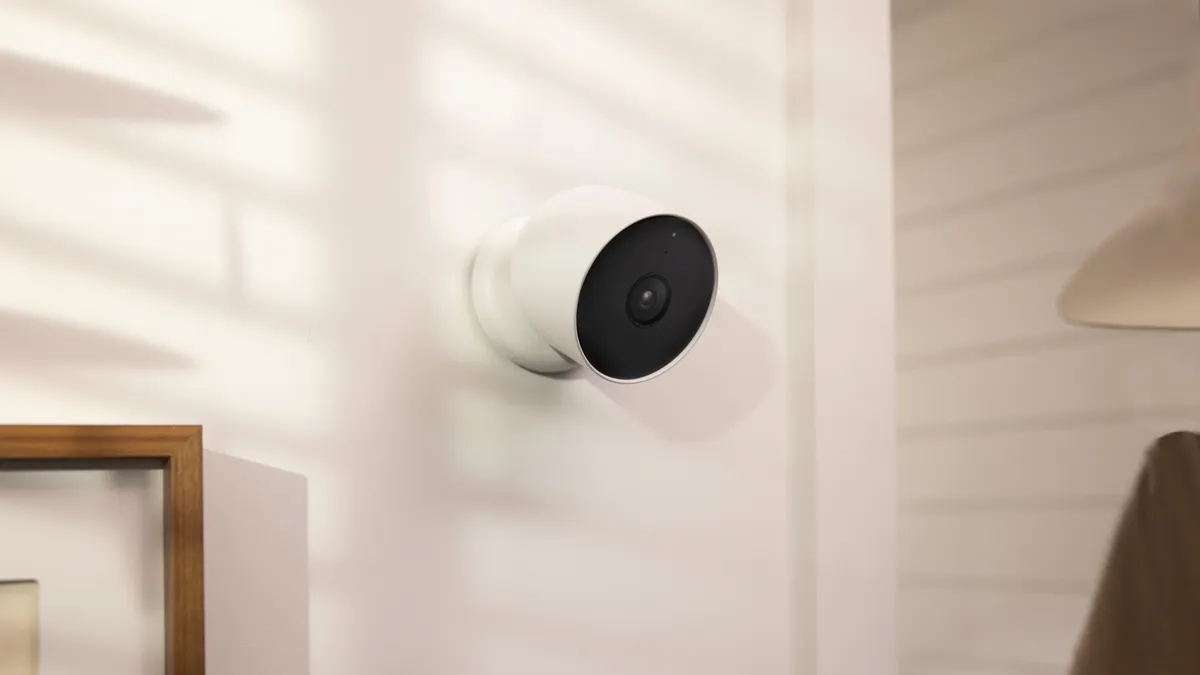
Remote access is where most setups fail silently. Enable the P2P cloud ID on the camera or NVR, then test from cellular data. Typical P2P tiers are free for standard use. Sub-stream remote viewing uses 1-2 Mbps upstream per camera.
5.1 For multi-site integrators
Manage every site from one VMS account or one VPN. Keep a site file with IPs, credentials, and firmware versions. This turns a 40-site portfolio into a repeatable workflow.
Step 6: Verify Recording and Alerts
Never sign off without a night walk. Check that faces are identifiable at the planned distances. Confirm motion zones trigger on people, not on trees or passing cars. Test playback over cellular data, not just the office WiFi.
6.1 Handover
Give the client a short checklist and the viewer credentials. Note the retention setting and how to export footage. A clear handover prevents most support calls in month one.
Setup Checklist
- Camera powers on and links on the PoE switch
- Default admin password changed at first login
- Firmware updated before configuration
- Camera and NVR on the same subnet; ping passes
- DHCP reservation or static IP recorded and labeled
- Camera added to the platform with correct credentials
- Dual streams set; recording schedule matches policy
- NTP time sync enabled on every device
- Remote viewing tested on cellular data
- Night walk passed; faces identifiable
- Client handover sheet completed
Quick Answers
How long does it take to set up an IP camera?
Typical 15-30 minutes per camera for a trained integrator. WiFi models add time for SSID setup. A 16-camera site usually takes one working day.
Do IP cameras need a static IP address?
No. Typical practice is a DHCP reservation per camera MAC. The address stays fixed, and the router manages it. Static IPs are only needed for special integrations.
Why can't I see my IP camera after setup?
Typical causes: camera and recorder on different subnets, a firewall blocking discovery, default credentials, or a PoE port left off. Check these in that order.
Do IP cameras record without internet?
Yes. Recording runs on the local network with the NVR or SD card. Internet is only required for remote viewing and alerts. A dropped connection never stops recording.
The Bottom Line
IP camera setup is a sequence, not a single event. Wire first, initialize with a new password, and put the camera on the right subnet. Then add it to the platform, enable remote access, and verify at night. Skip one step and the callback comes later. Follow the six steps and the system runs for years.
NEXT STEP
Ready to Upgrade to Full-Color Night Vision?
Send us your requirements — our team responds within 24 hours with pricing and lead time.
Written by
Ray ChanCCTV Buyer's Guide Author · Full-Color Night Vision Specialist. Ray helps global importers and integrators source factory-direct security cameras.